
Now is the part where you get mad at me for making you do all that coding, when the fact is that you don’t have to do it to build a GitHub page, as you’re about to see.
Why did I make you do it? As you’ve probably anticipated, I wanted you to have a sense of how the web is put together. It’s not magic or rocket science; just some text documents and a server!
Having said that, it’s seldom necessary to hand-code a website, especially a complex one. That’s because there are lots of existing templates and software programs that can help make the process easier.
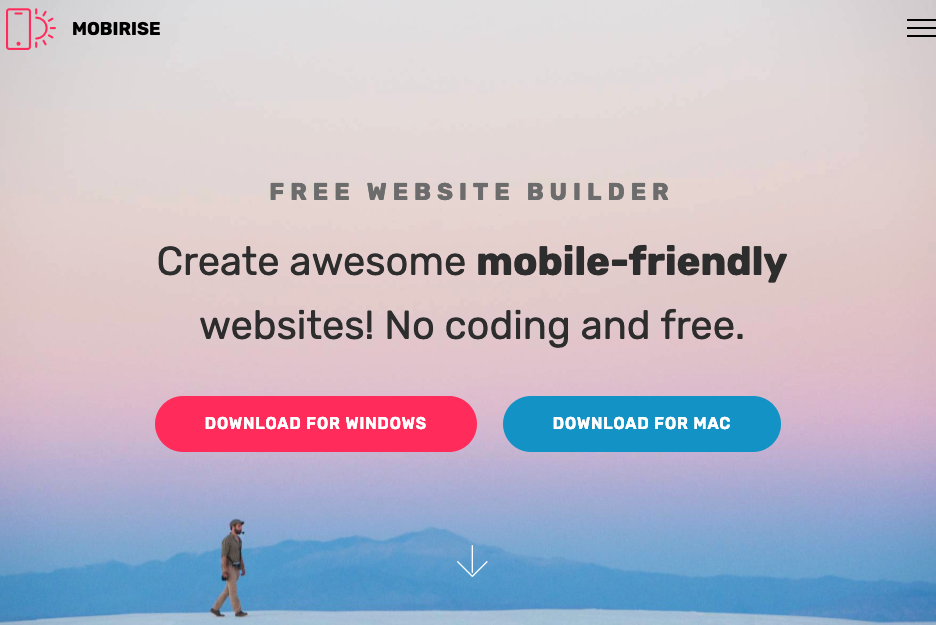
In this tutorial, we’ll use the website generator Mobirise, which connects directly to your GitHub repo to make it much (much!) easier to build an impressive-looking website. In fact, Mobirise is so easy to use that you scarcely need a tutorial — so I’ll keep this fairly bare-bones.
Limitations to Mobirise
Mobirise is free, but there’s one big catch. The company makes its money from selling various extensions and themes. You don’t need most of these, but one of these extensions is called the Code Editor, and it’s quite expensive, at $69. In order to embed interactive visualizations and maps in your Mobirise site, you need to edit the site code, which would be much easier with the code editor.
You can still edit your site’s code, simply by downloading the files from GitHub and editing them directly via a text editor like Atom. However, that’s not as easy as embedding things interactively. Moreover, should you then wish to make changes via the Mobirise application, the code you’ve inserted manually will be overwritten when you upload the site.
I can see two possible solutions to this problem. First, instead of embedding interactive visualizations, you could post images of them that link to the interactive versions. That’s not ideal, but it’s OK. Second, you could insert the interactive visualizations last, so that any design choices you make in Mobirise won’t overwrite your custom code.
Of course, you may find this unacceptable, in which case, let’s look at other options for building your site.
Download Mobirise
You use Mobirise as a stand-alone application on your computer, meaning you can use it even if you’re offline. You can download the software from the Mobirise website. It works on both Macs and PCs.
Get acquainted

When you open Mobirise for the first time, you’ll find a “dummy” website, already built for you. This is what your website would look like if you uploaded it directly to GitHub right now. If you click on the text or images, you’ll find that you can edit them directly.
Add a block

A Mobirise site consists of sections, called “blocks.” Each block has various attributes, which are customizable. To create a new block, press the red plus-sign button at the bottom right-hand corner and select from the options available.
By clicking on the “gear” button at the upper right-hand corner of each block, you can change its features. You can also delete it by clicking on the garbage-can icon located in the upper right-hand corner of each block.
Add a page

Your Mobirise site starts out with one page, but you can easily add more. Click on the menu at the upper left-hand side of the Mobirise application and select Pages. You’ll see that you can add, remove, and reorder pages.
Publish your Mobirise site to GitHub Pages
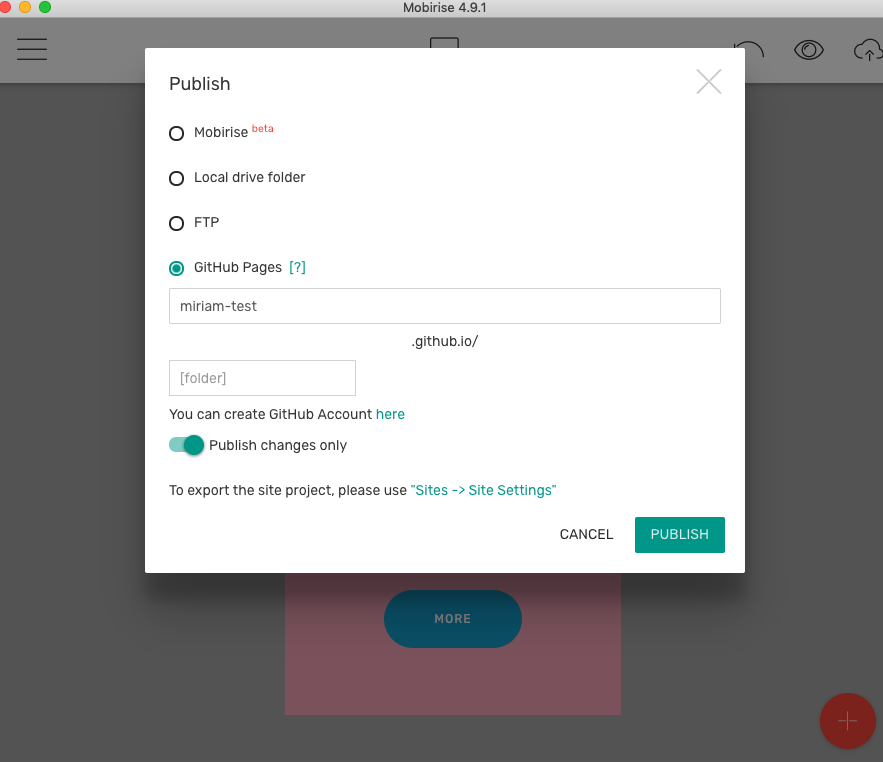
This, too, is extremely easy. Click on the cloud icon on the upper right-hand side of the Mobirise app. Select GitHub Pages in the ensuing pop-up, and enter the name of your repository. (That’s your username.)
Once you click Publish, Mobirise will ask you for your GitHub credentials and publish your site directly to GitHub Pages. Note that it will overwrite the site you created in your last tutorial.
As you’ll see in the ensuing “Success” message, it can take a few minutes for your changes to appear on GitHub, but you can open your site and check.
And…that’s it!
It’s pretty easy, huh?