by Albert Kochaphum
Create a Carto account
- Go to the Carto sign up page
Create your first map
- Once logged in, look for the following button:

2. Choose “Data library”, then click on the search (magnifying glass)

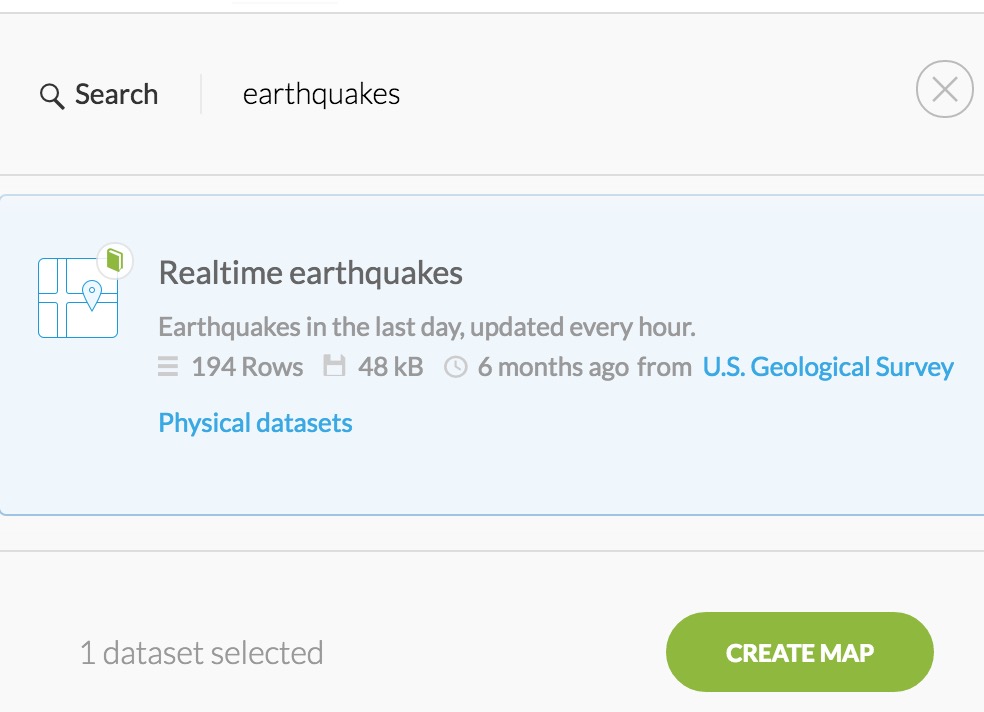
3. In the search box, enter “earthquake”
4. Find the dataset titled “Realtime Earthquakes” provided by the U.S. Geological Survey. Click on it and press the Create Map button.
Carto Builder – Data
- You should now be on the builder page:

Here you can stylize the layers by clicking on the layer. Let’s start by seeing what our data has to offer and click on “all_day”

Let’s look at our data, by clicking the button on the lower right corner:

Start by clicking on the Data tab:

Now let’s look for some interesting data, say mag for “magnitude” of the earthquakes:

Here we can add the data as a widget by checking the box.

Notice the distribution on the right side, this is our data!
You can check “auto style” to have the data styled automatically.

Carto Builder – Style
Let’s look at changing our map by clicking on “Style”:

You can change the style by moving the bar to the right:

Experiment with other options: size, operation, etc.

Explaining your map: The legend!
Click on “LEGEND” to access the following panel:

Here is the legend for editing the legend panel!
1. Here you can edit the title of the layer.
2. Here you can change the legend type.
3. Here you can change different legend elements.
Return to the main layers page by clicking the back icon.

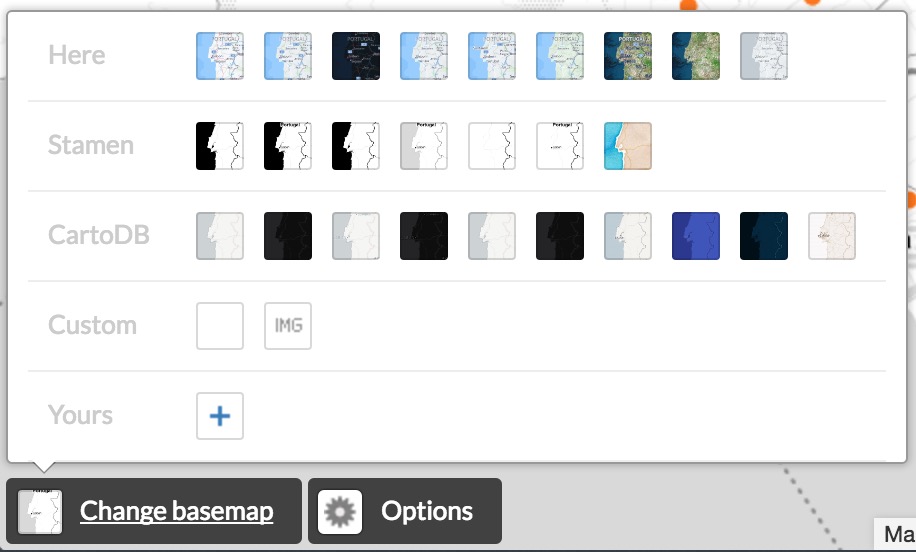
Here you can also change the base map in the layer options:
Taking your map out!
Go ahead and name your map and click publish:

Here you can embed your map on a web page by getting the code:
You can also download the map:
